
Looking to fix your Waterpik water flosser? Learn troubleshooting tips and DIY repair techniques in our comprehensive guide for waterpik water flosser repair.
Maintaining good dental hygiene is essential for overall oral health, and water flossers have become increasingly popular tools in achieving this. Among the top choices in the market, the Waterpik water flosser stands out for its efficiency and effectiveness. However, like any electronic device, it may encounter issues over time. In this article, we will explore common problems faced by Waterpik water flosser users and provide you with troubleshooting techniques and DIY repair solutions to get your flosser back up and running smoothly.
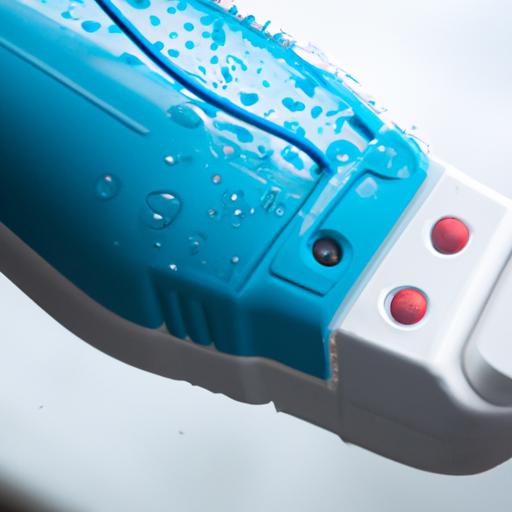
A Waterpik water flosser experiencing reduced water pressure.
Common Waterpik Water Flosser Issues
Before diving into the troubleshooting process, it’s important to identify the common problems you may encounter with your Waterpik water flosser. These issues can range from reduced water pressure and leakage to malfunctioning buttons. Understanding these challenges will help you diagnose and address the specific problem you are facing.
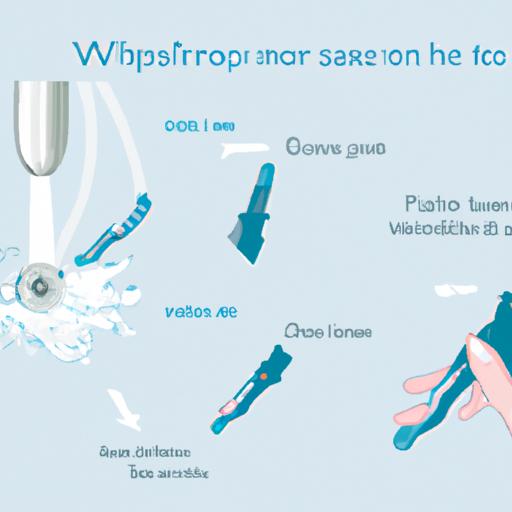
Cleaning the nozzle of a Waterpik water flosser is an essential troubleshooting step.
Troubleshooting and DIY Repair Techniques
Checking Water Pressure
One of the most common problems with a Waterpik water flosser is a decrease in water pressure. If you notice a decrease in the force of the water jet, there are a few steps you can take to troubleshoot the issue.
- Inspect the Water Reservoir: Ensure that the water reservoir is properly filled and securely attached to the base. If it is not properly connected, it can lead to reduced water pressure.
- Clean the Nozzle: Mineral buildup or debris can clog the nozzle and affect the water flow. Detach the nozzle and clean it thoroughly using warm water and a soft brush.
- Check the Pressure Settings: Make sure that the water pressure settings on your Waterpik water flosser are adjusted appropriately. Sometimes, accidental changes in settings can result in reduced pressure.
Addressing Leakage
Leakage is another common issue faced by Waterpik water flosser users. If you notice water leaking from the device, follow these steps to troubleshoot and potentially repair the problem.
- Inspect the Reservoir Seal: Check the seal between the water reservoir and the base. If the seal is damaged or misaligned, it can cause leakage. Replace the seal if necessary.
- Examine the Hose Connections: Ensure that the hose connections are properly tightened and secure. Loose connections can result in water leakage. Tighten them using a wrench if needed.
- Replace the O-Rings: O-rings are rubber seals that prevent water from leaking. Over time, they may wear out or become damaged. Replace any worn-out O-rings to resolve the leakage issue.
Fixing Button Malfunctions
If the buttons on your Waterpik water flosser are not functioning properly, you can try the following steps to troubleshoot the problem.
- Clean the Buttons: Dust, debris, or residue from water can accumulate on the buttons, affecting their responsiveness. Clean the buttons gently using a soft cloth and some isopropyl alcohol.
- Inspect the Wiring Connections: Check the wiring connections behind the buttons. Loose or disconnected wires can cause button malfunctions. Reconnect or tighten them if necessary.
- Reset the Device: Some button malfunctions may be temporary glitches. Try resetting your Waterpik water flosser by unplugging it from the power source and plugging it back in after a few minutes.
When to Seek Professional Repair Services
While DIY repair techniques may solve many common issues, there are situations where professional repair services are necessary. If you encounter any of the following scenarios, it is recommended to seek assistance from certified repair centers or reach out to the manufacturer directly.
- Extensive Water Damage: If your Waterpik water flosser has suffered significant water damage due to an accident or mishap, it is best to have it examined by professionals who can assess and repair the device properly.
- Electrical Component Failure: If the problem lies within the electrical components of your water flosser, it is advisable to seek professional expertise. Attempting to repair complex electrical issues without proper knowledge can be risky.
- Warranty Coverage: If your Waterpik water flosser is still under warranty, it’s recommended to contact the manufacturer for repair or replacement options. Attempting DIY repairs may void the warranty coverage.
In conclusion, troubleshooting and repairing your Waterpik water flosser can save you time and money. By following the DIY techniques mentioned above, you can address common issues such as reduced water pressure, leakage, or button malfunctions. However, if the problem persists or falls into the categories mentioned, it is best to seek professional repair services or utilize the warranty coverage provided by the manufacturer. Remember, maintaining your Waterpik water flosser regularly and following proper usage guidelines can help prevent potential issues in the future.
For more information on water flossers and product reviews, visit BestWaterFlosserHQ.com. If you are experiencing specific issues such as your Waterpik water flosser not working or not turning on, check out the following articles for more detailed troubleshooting steps: My Waterpik Water Flosser Stopped Working, Waterpik Water Flosser Not Charging, Waterpik Water Flosser Not Turning On.